Replacing Watermarked Borders
This is the procedure for replacing a watermarked border with a non-watermarked border from our bundle:
- Open the Word document you want to change. If you have already edited the text in the certificate, you may want to make a copy of the original file before proceeding. This will give you an original copy to use in case you make a mistake.
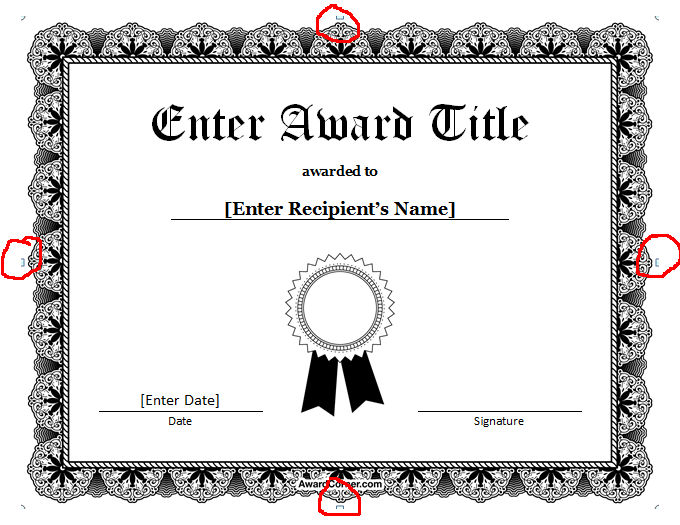
- Select the image by clicking on it. The image should be highlighted as shown in the image below. The edge of the image should have small boxes on all four sides if the border is selected. These are circled in red in the image.
- Delete the image by hitting the delete key on your keyboard. The document should look similar to the image below after the border is deleted:
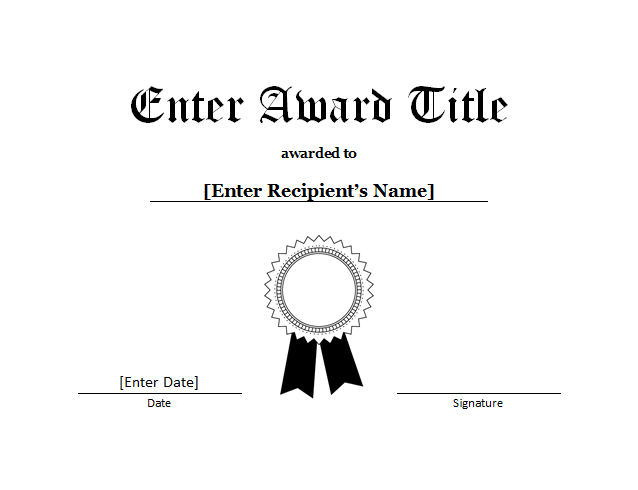
- Open the folder that contains the replacement border. Drag the border file into the Microsoft Word document. The finished result should look similar to the example below:

Note
The procedure described above has been tested in Microsoft Word 2010. It works without the need for any further adjustments to the border positioning, text wrapping, or other settings. If these steps don't work for you, you may need to adjust these things yourself. Please search Google for details on how to do that in the version of Word you use.
- Open the folder that contains the replacement border. Drag the border file into the Microsoft Word document. The finished result should look similar to the example below:


